
Granboard is probably the most most popular home board on the market. I’ve had my Granboard since 2016, and since then I’ve tweaked and tinkered with my home dart setup. One thing I’ve always wanted was a independent large player change button.
When frustrated or when hitting a crucial shot, I get that adrenalin going and a desire to slam on the player change button. With the default button on the Granboard being small and an odd angle to slam on, I thought about adding separate button. I was first ambitious wanting it to be lit with LED, and making it remote (which I still may do), but settled on something simple and achievable that could be done in an hour.
The items needed (with links):
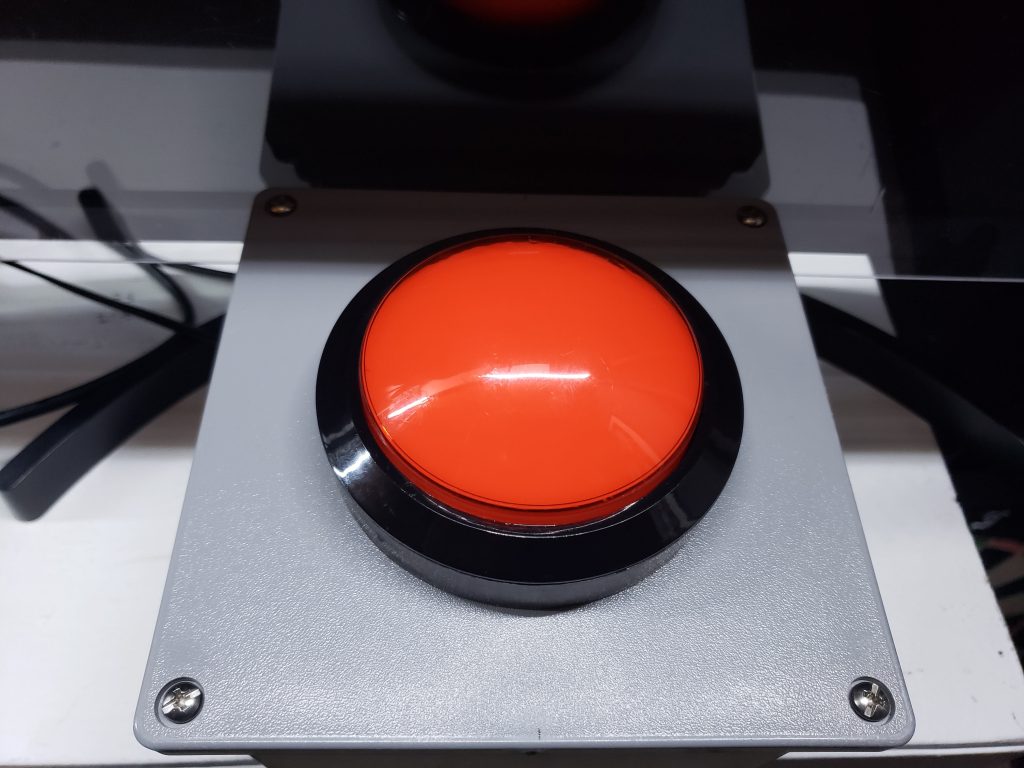
- Button – I went with a big red button for that satisfying slam effect
- Box to hold the button – I already had a project box laying around
- Wires to connect the button to the Granboard, I just used what I had laying around
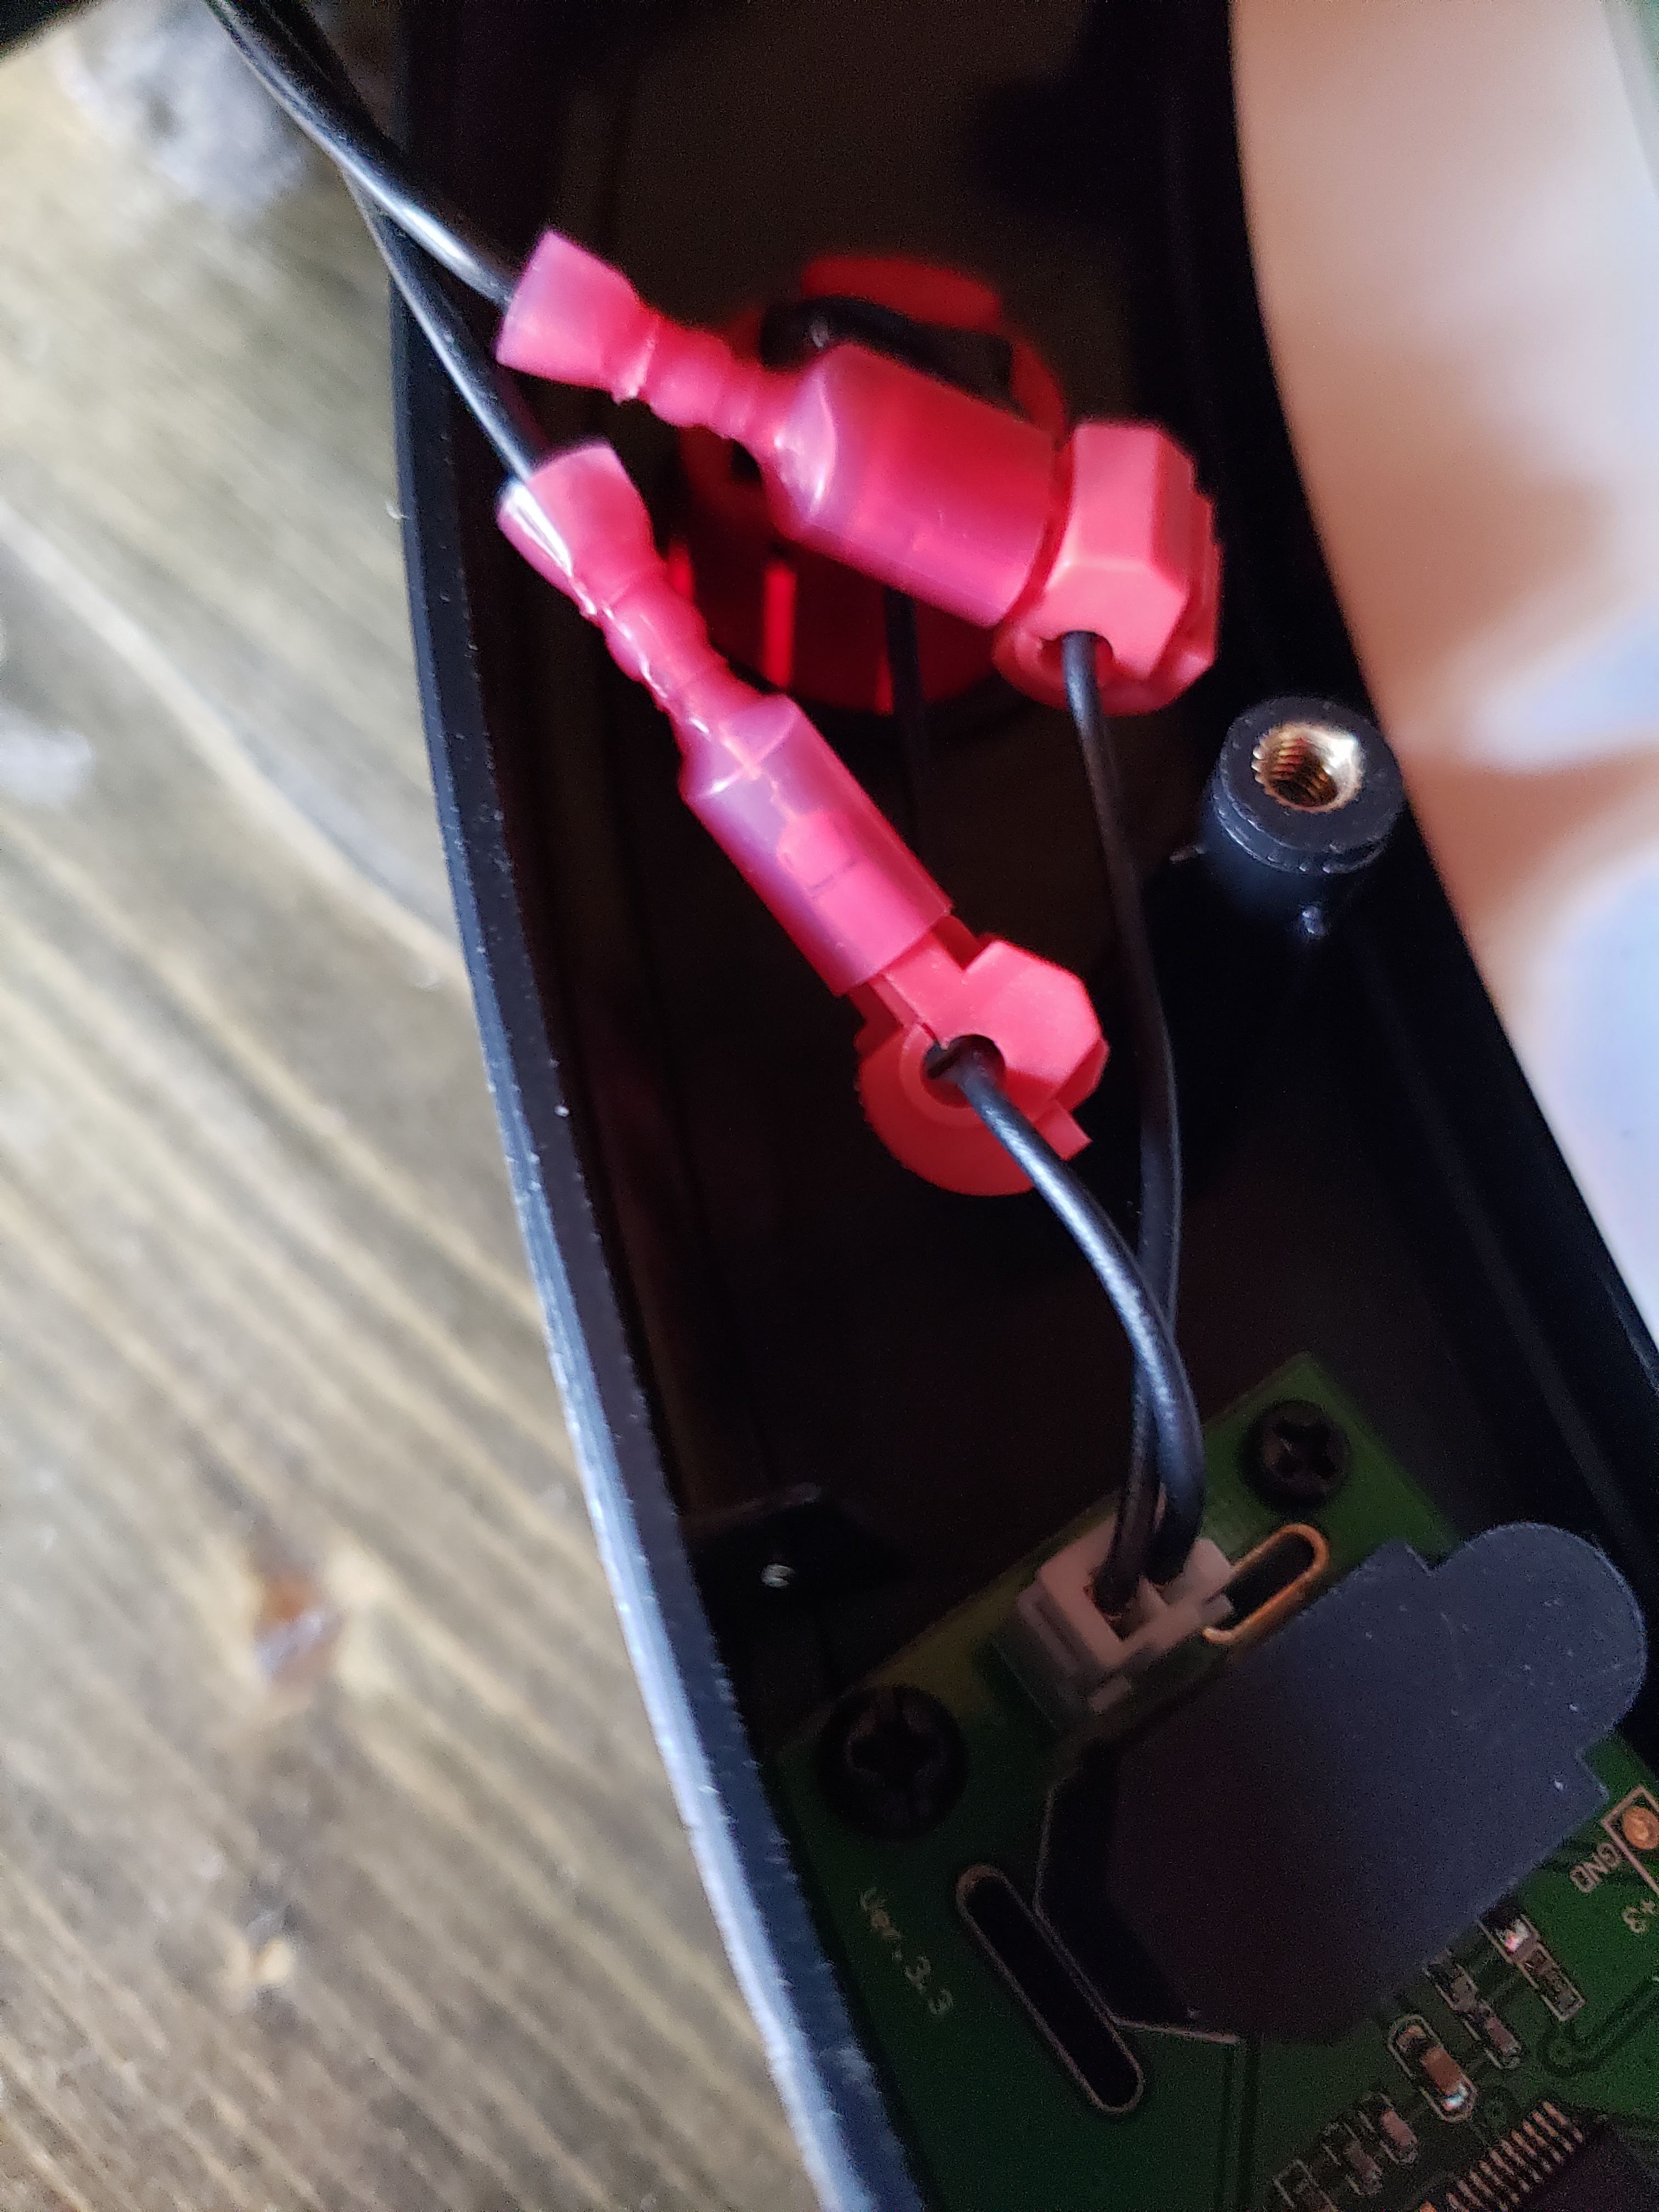
- T-Tap connectors – makes it easy to tap into the default Granboard button wires
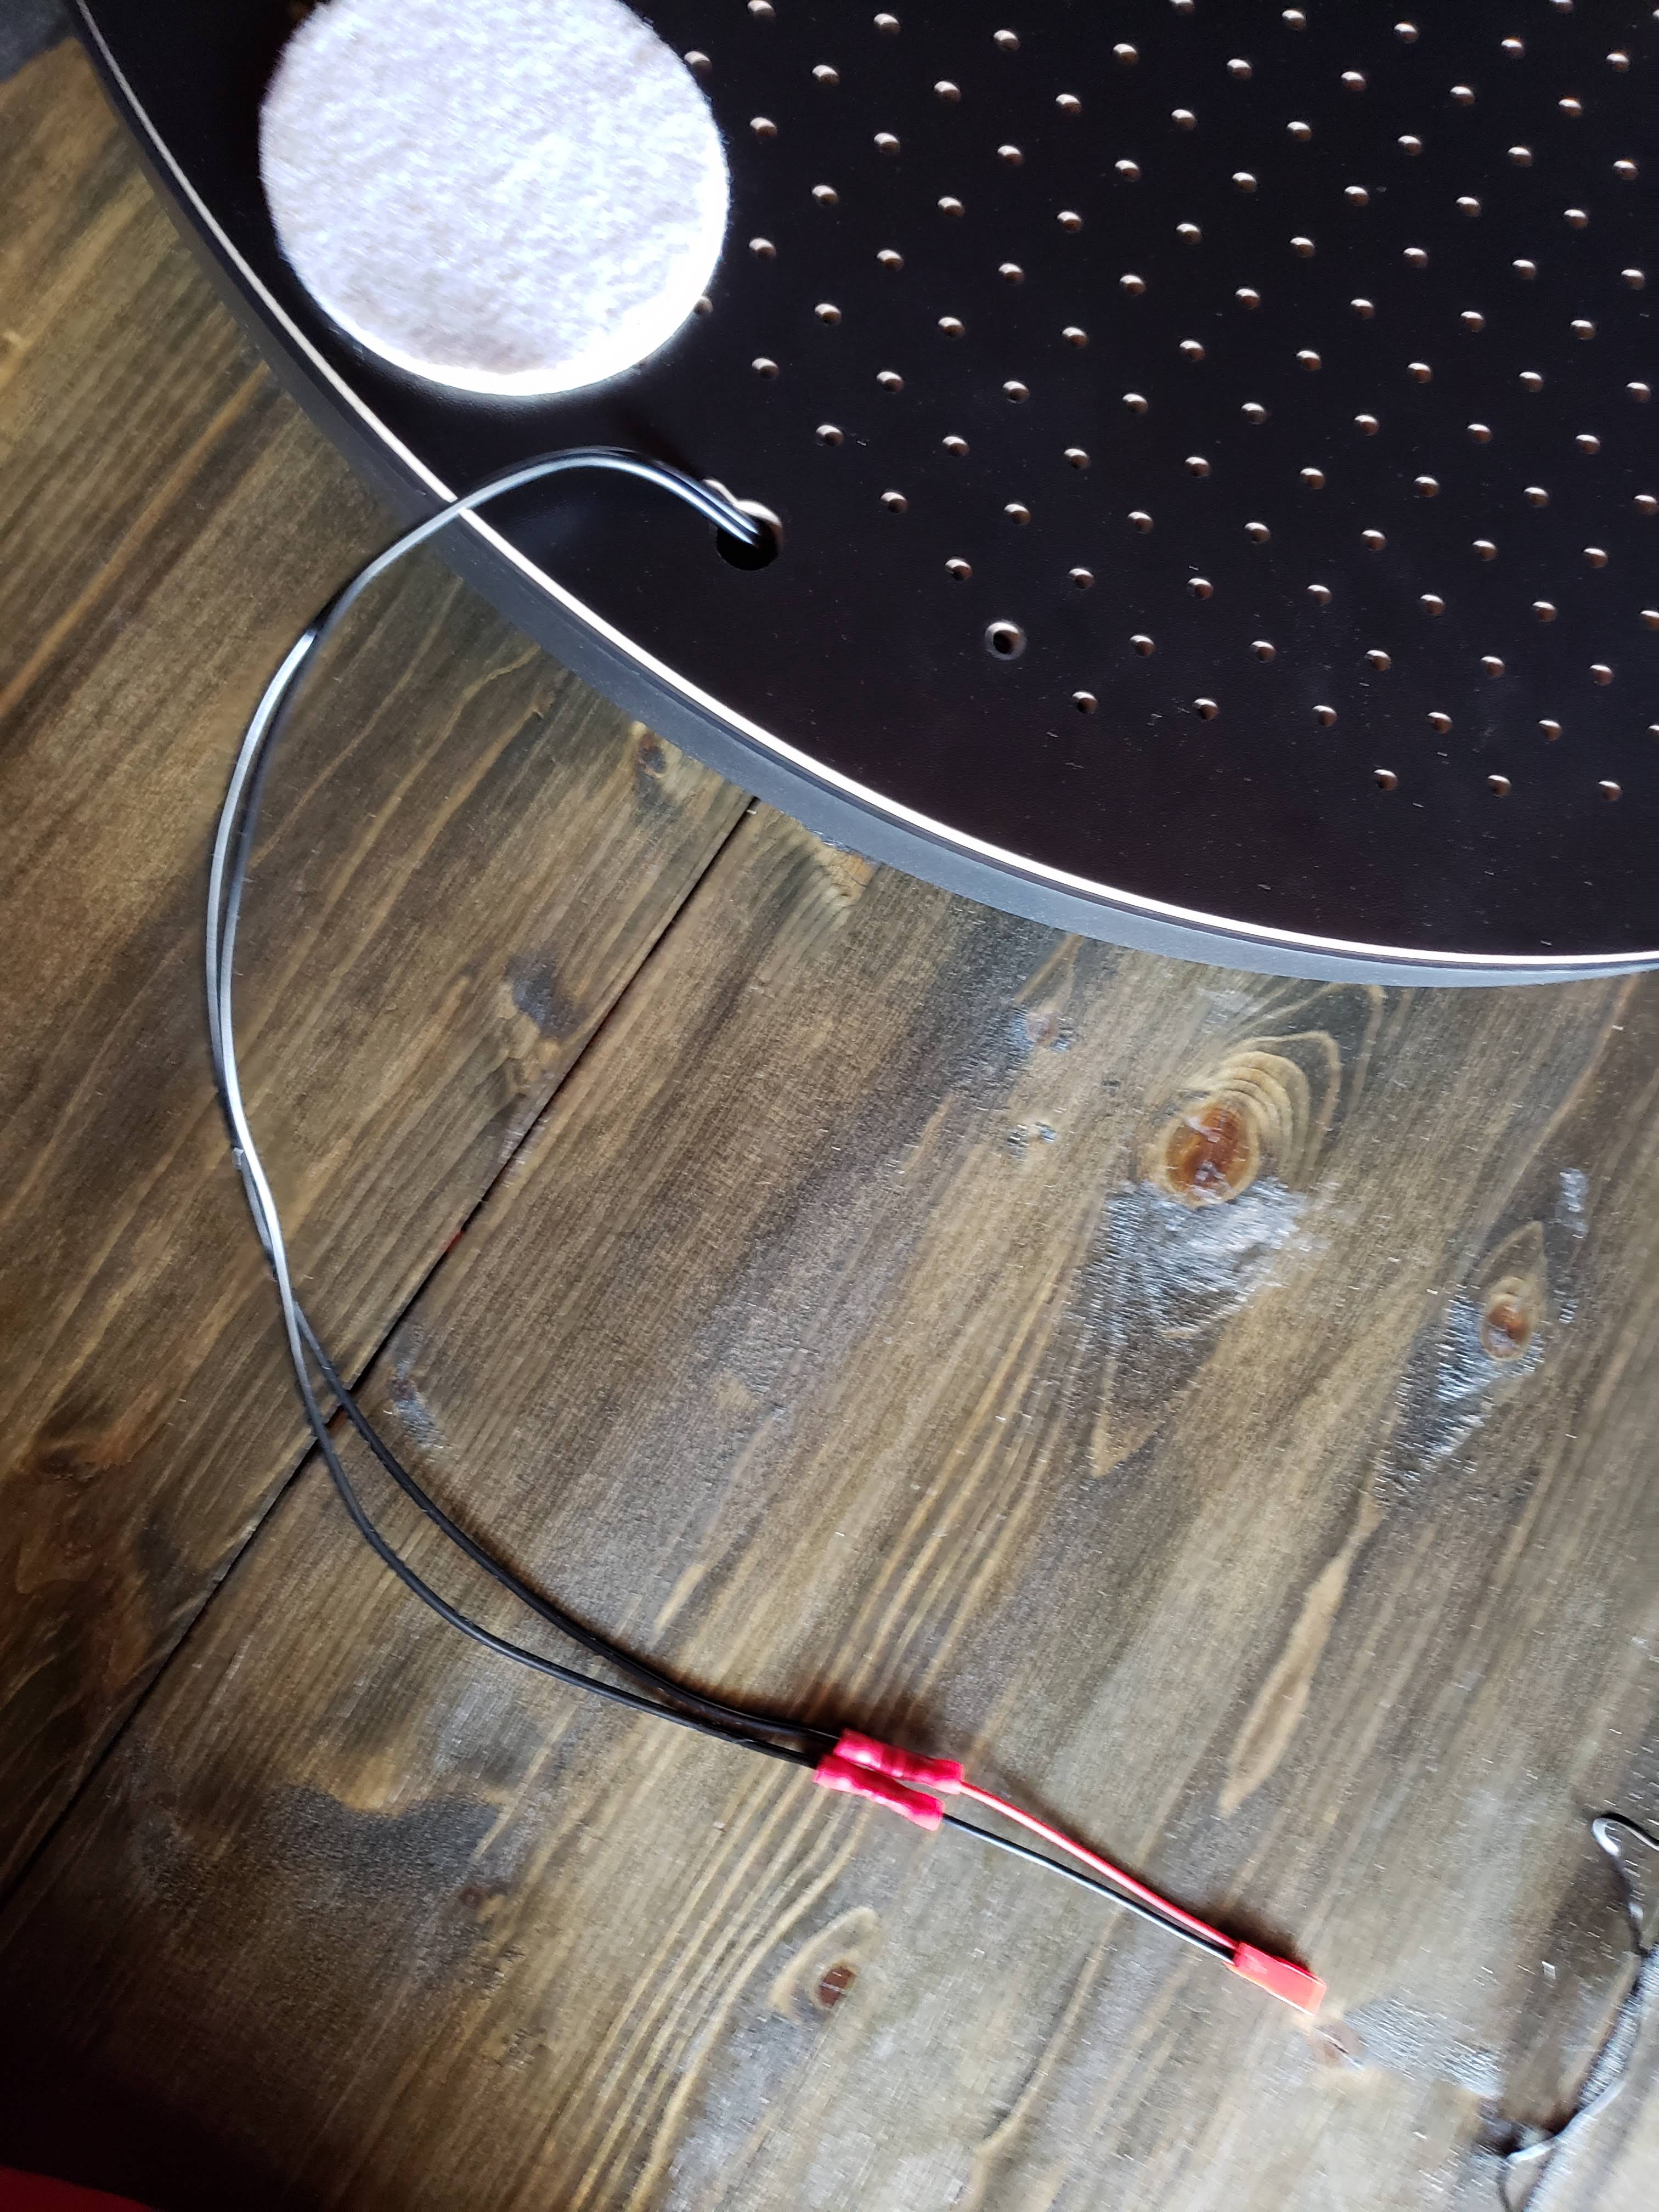
- Connectors that allow me to unplug the button
- Drill and step bit that create a hole for your button to fit
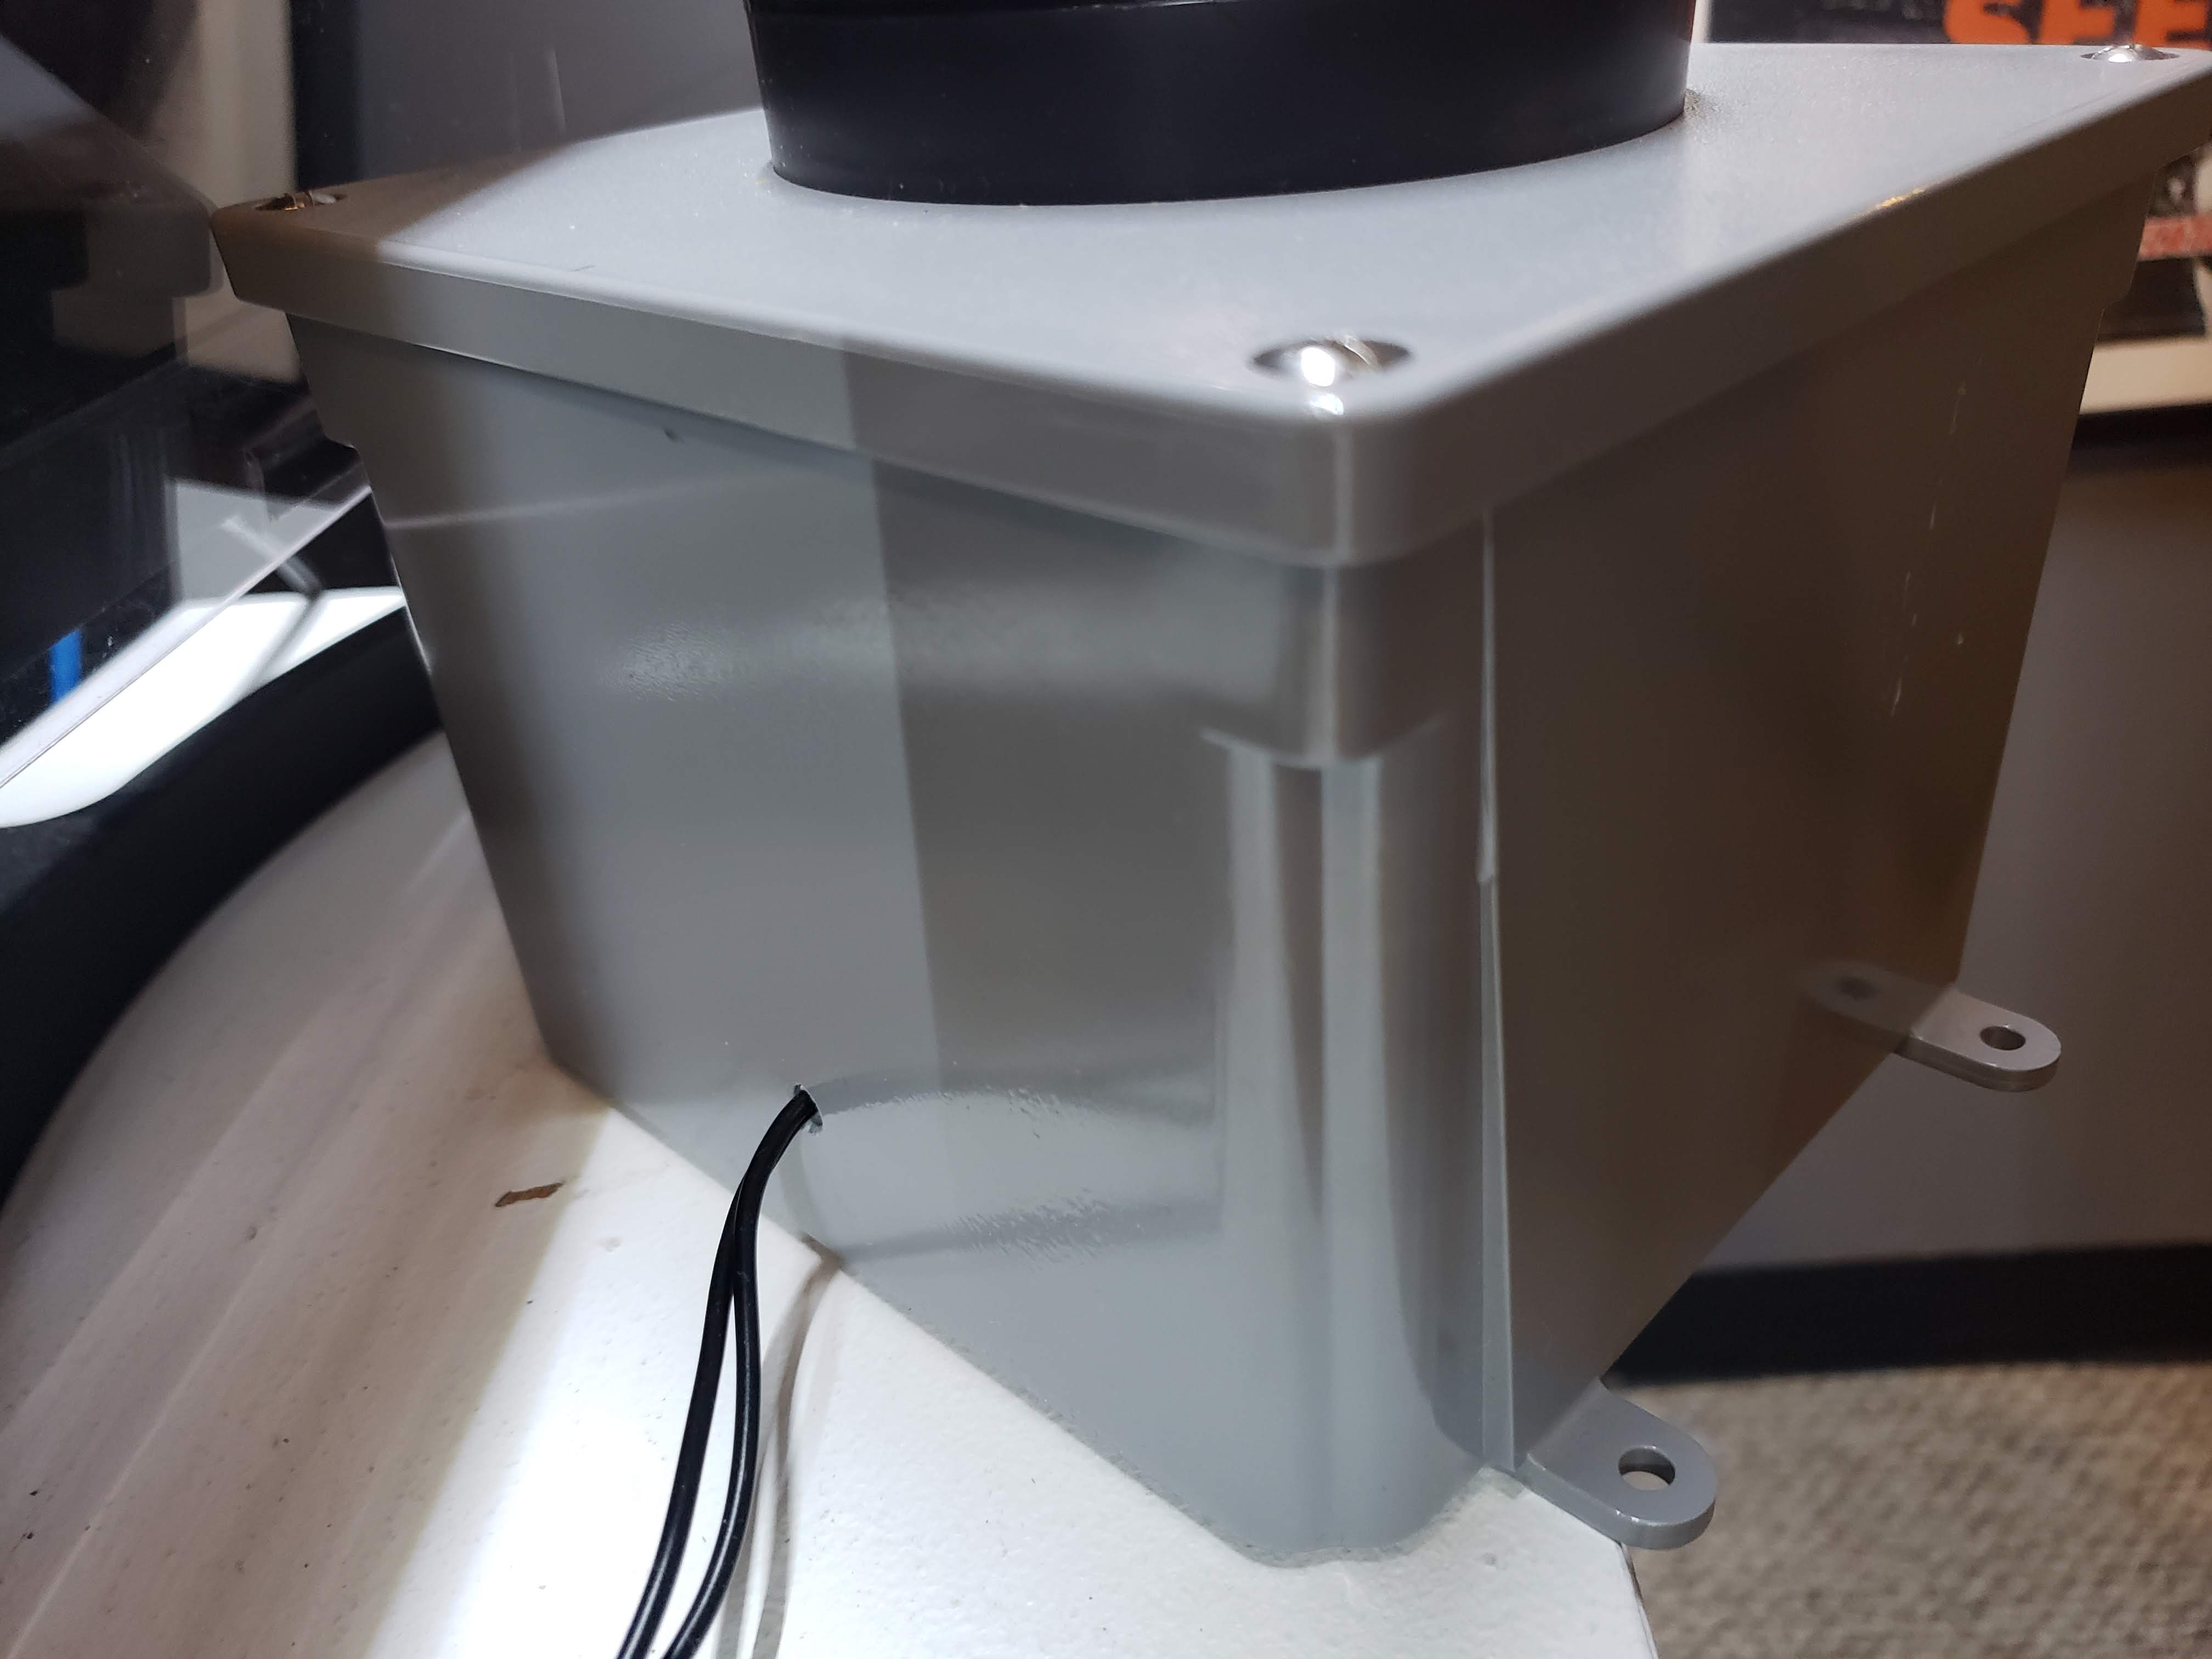
You’ll want to create 2 holes in your project box. First hole will be to house the button on the top. The second hole is to run the wire going out of the box to the board.
Next, install your button on top of your project box. You’ll need to connect 2 wires. One for the top terminal on the micro-switch of the button, and another on the front terminal. You may want to solder the wires. I also used connecters to enable things for simple unplugging.
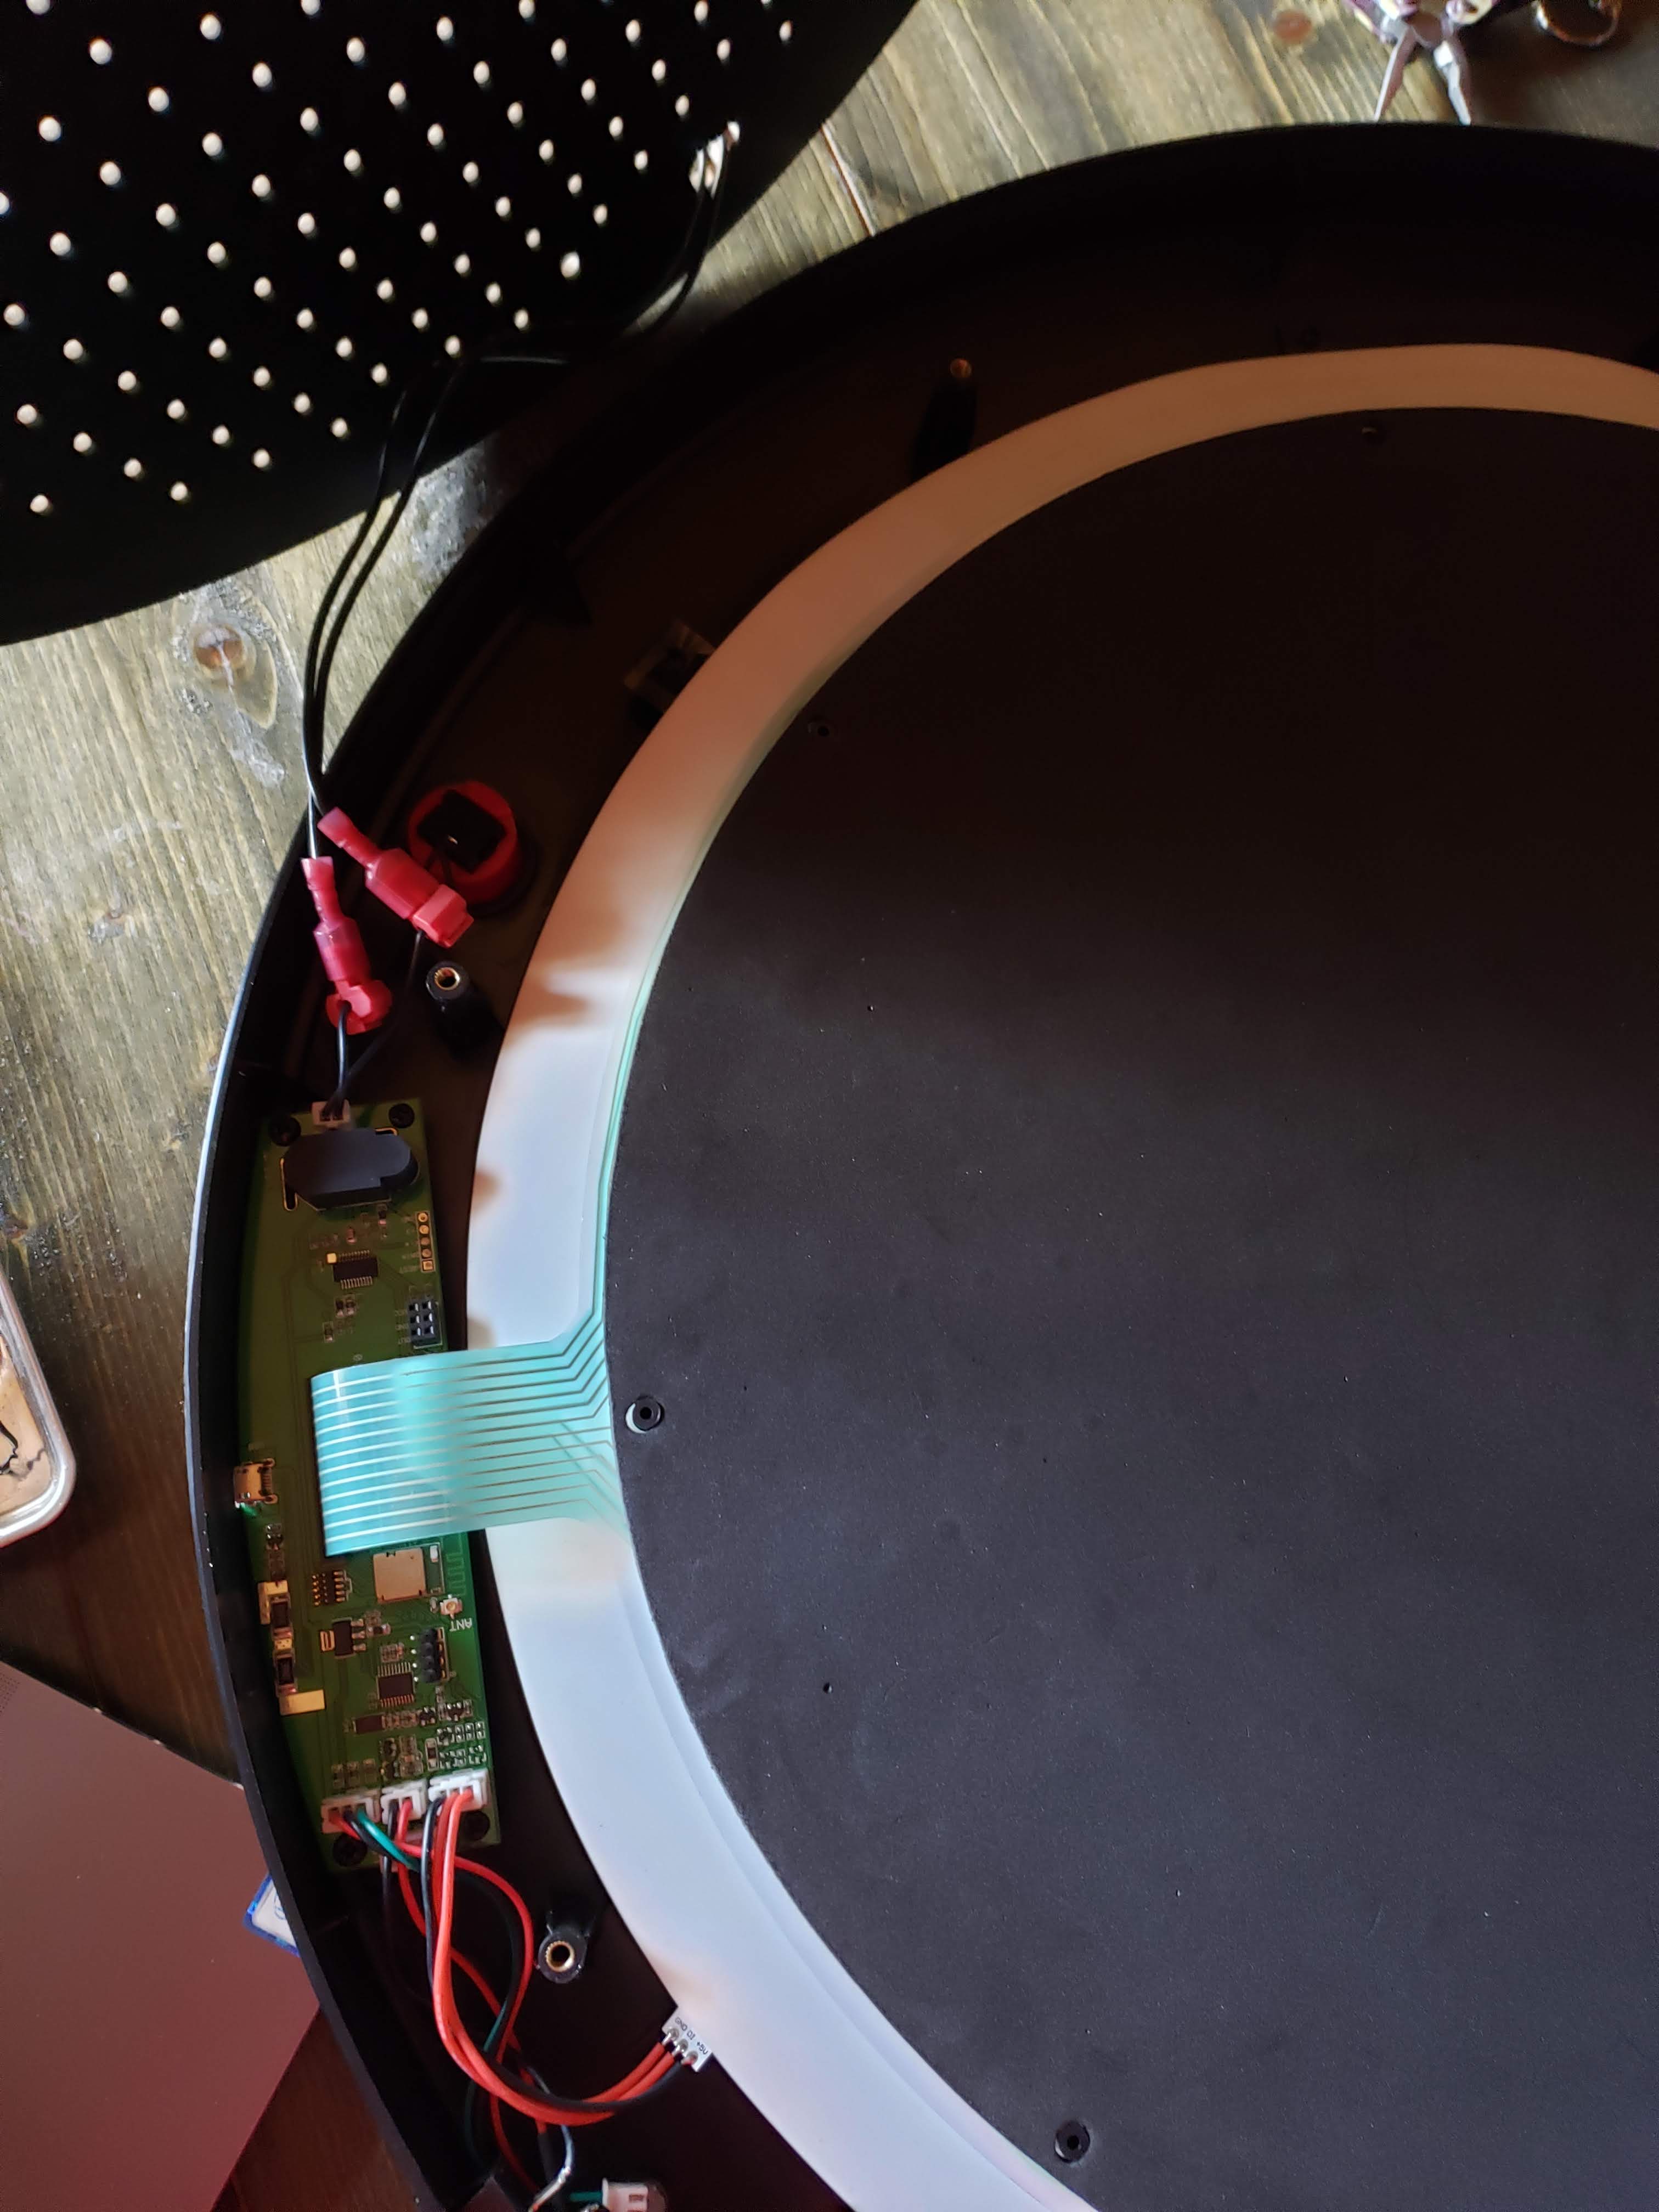
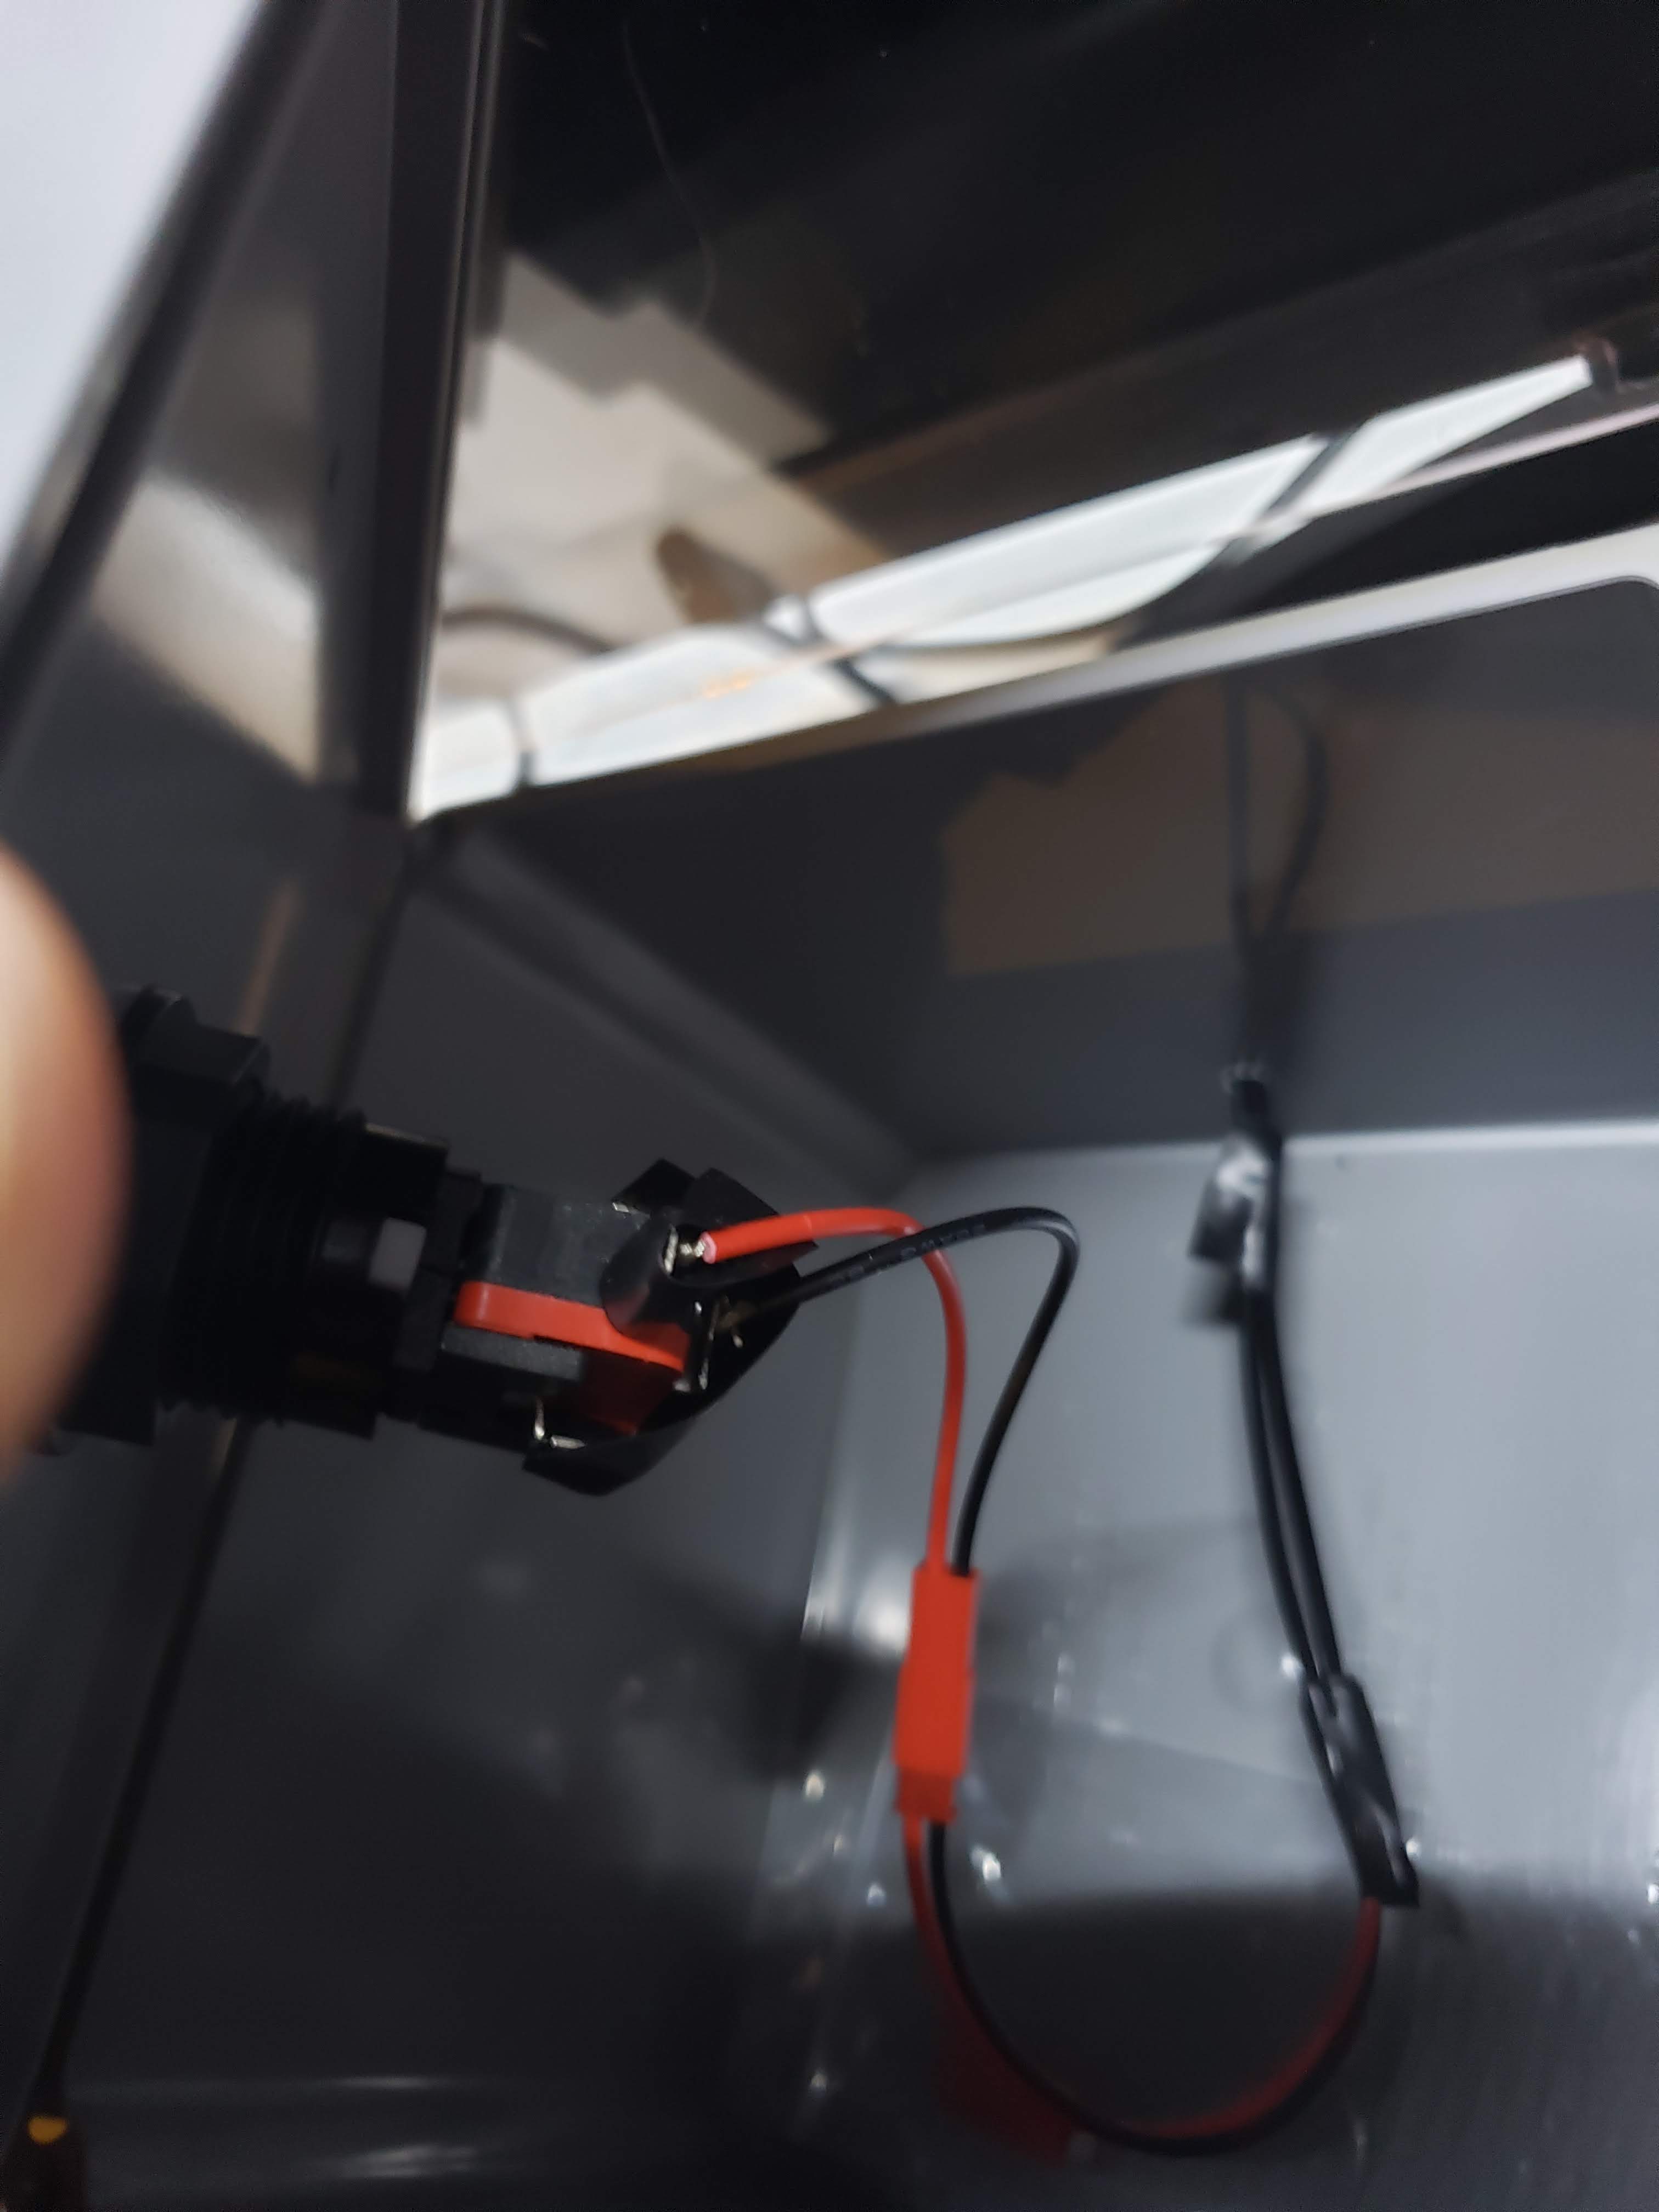
Then you’ll want to open up the back of your Granboard, and use the t-tap connectors on the 2 wires connected to the default button. From there you can run a wire and another connector through the back of the Granboard that is meant for a screw bracket.
Finally, you’ll want to create a wire long enough to fit your setup, and it shoud connect the Granboard to your button project box. That’s it!
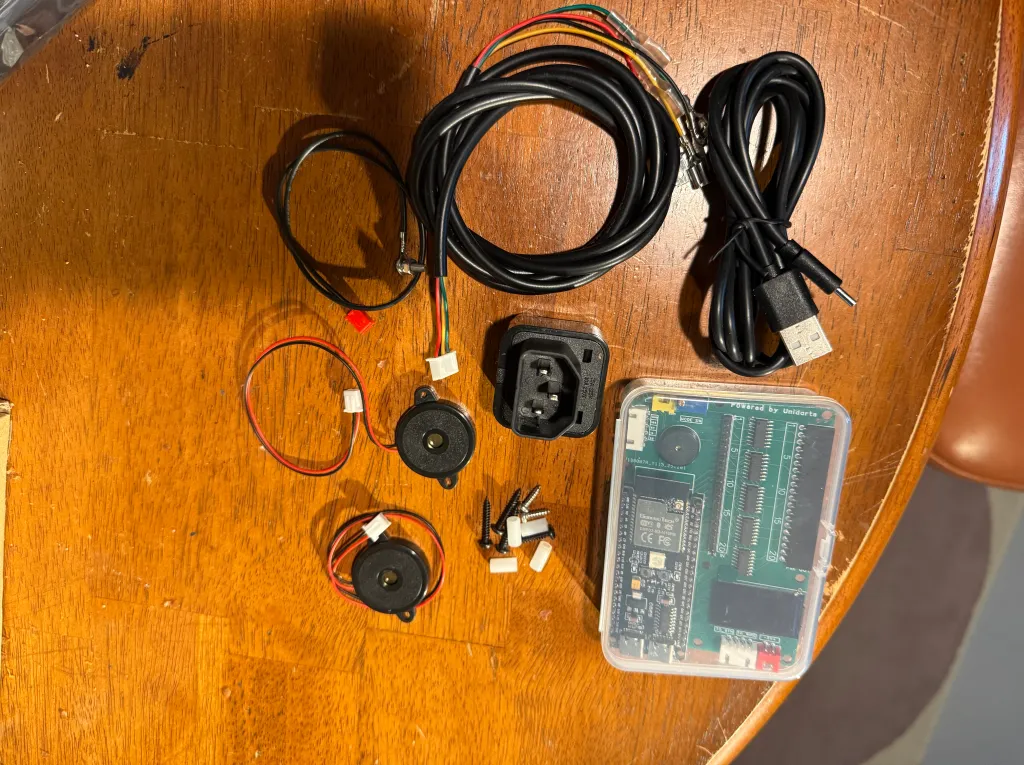
As mentioned earlier, I still may pursue creating a remote version of this. I have a kit to do it, and will be experimenting in the near future.
Some pictures below to help give you visuals if you decide to pursue this hack. If you have any questions, feel free to reach out.


Leave a comment